What will you learn? – Build a 3D world in Kodu with hills and water. – Program Kodu characters with keyboard inputs. – Program conditions (collecting objects) and a scoring system. – Add multiple players and game over conditions.
What will you need? The Kodu software on your computer (Windows only)
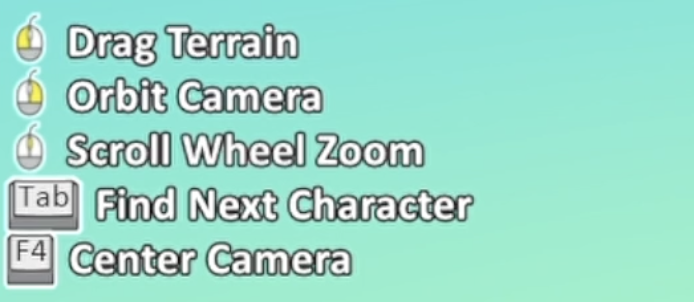
1. Navigating Kodu Watch the video to learn how to use the different mouse controls in Kodu, such as rotating and zooming in/out.
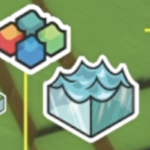
2. Build your world Watch the video to learn how to start your world by adding landscape tiles, resize them and change their colour.
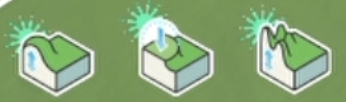
3. Hills and Terrain Watch the video to learn how to add hills then change the terrain of hills with slopes and more jagged contours.
4. Water Once you have created the different hills and valleys, you could fill the lower land with water. Watch the video to help you.
Remember, the water will flood your whole world if you don’t have different levels of land (to create a basin).
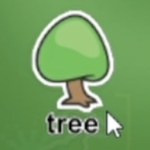
5. Tree and Objects Watch the video to learn how to add different objects, such as trees and resize them.
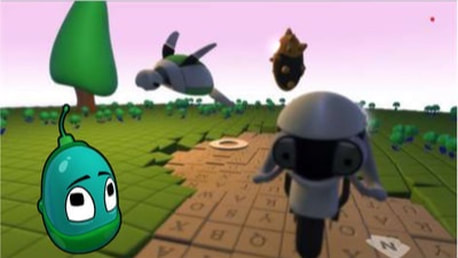
6. Kodu characters Watch the video to learn how to add your own characters that can be programmed. Right click on the Kodu to change the height so that is on the ground.
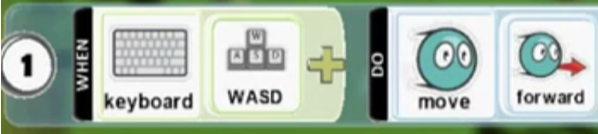
7. Program keyboard inputs Watch the video to learn how to program keyboard inputs to control your Kodu character using the arrow keys on your keyboard.
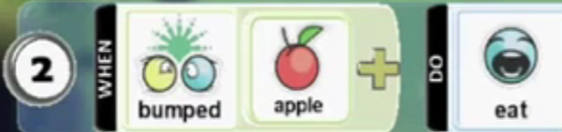
8. Collecting an apple (Sensing and selection) Watch the video to learn how to program sensing and selection so that when your Kodu character touches an object (such as an apple) it eats it.
9. Scoring points Watch the video to learn how to program a scoring system, so that when your Kodu character collects the apple it scores points.
10. Multiple Players Watch the video to learn how to add another Kodu character then use different keys to control it. Follow the steps above to add the conditions for your second player.
11. Game over We are now going to add an operator, that when a Kodu reaches a particular score (equals) then that Kodu will win. Add in the code as below to the 4th line of each Kodu – you can choose your own number of points to reach and make sure the player number is different for each Kodu!
Challenge Add Enemies Add another Kodu to your world such as a Cycle and then add the code below that when the Cycle sees your Kodu it will move in a wander.
You could experiment with using the pathways instead of the wander. For example, if you want your enemy to guard a certain part of your world you could make a pathway where they walk backwards and forwards.
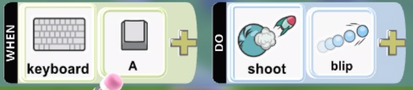
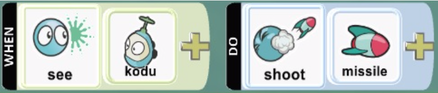
Add a program to your Kodu that uses a keyboard key or mouse button to shoot a blip or missile to destroy another Kodu. You could use this in your project to destroy enemies or in a multi-player game against each other.
Add a program line to your ‘Enemy’ Kodu that when they see the ‘Player’ Kodu they will fire a missile or blip. Make sure your world is big enough or you may find the enemy destroys your Kodu straight away.
Add a program line to your ‘Player’ Kodu that when it hits the ‘Enemy’ Kodu it scores some points. Alternatively, in a multiplayer game you could score points by hitting each other.