Pupil activity code: EF92
The activities below use different websites. To make it easier to share the websites with pupils we have created a pupil activity pack with the activities below and links to the websites for pupils to use. On the computers the pupils are using simply go to the Login page of this website and type the code above into the activity code section and click Go.
Introduction
The activities below develop mouse control and interaction with programs to develop creativity and begin making decisions on which digital tools are appropriate for creating different content.
Skills
1. Use digital software to explore colours and re-create a style. (Activity 1)
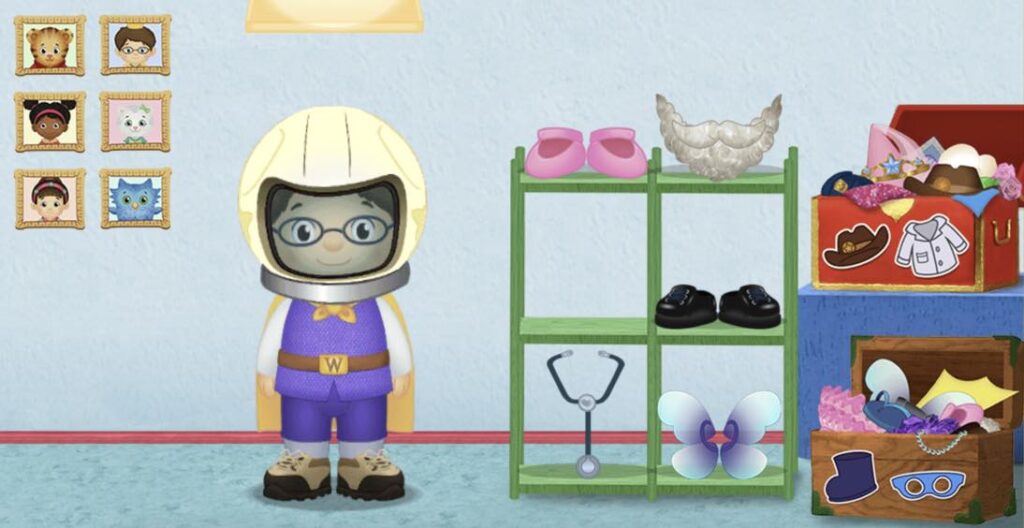
2. Use digital software to move objects on the screen for a purpose. (Activity 2)
3. Use digital software to select objects and use tools to create 2D and 3D designs. (Activity 3)
4. Use digital software to experiment with the fill bucket tool to colour a picture. (Activity 4 and 5)
2 hours
Pupil Activity Pack (Teacher view)
Activity 1 – Jackson Pollock Colouring
Look at some examples of Jackson Pollock art work, such as this one and this one and the ask the pupils to experiment with the tools using this website to recreate some Jackson Pollock style drawing. You may want to put the examples on the whiteboard to help pupils but we have also included one in the pupil activity pack.The video tutorial (also included in pupil activity pack) can be used to access and introduce the website and tools. As shown in the tutorial, pupils could try writing their name in different colours or making shapes.
Questions
Which tool is best to create Jackson Pollock artwork.
Why is it easier or harder drawing on a computer?
Is the Computer (Mouse) or iPad/Tablet easier to use for art?
Assessment
The pictures can be saved to the computer using the disc icon in the corner (the file goes to downloads folder on computer) or printed. Photos could also be taken of the children with their screens.
Activity 2 – Dress up
Pupils can use the Hide and Seek website by clicking the different characters in the top, clicking/tapping the boxes and then dragging the different clothing and items onto the characters.
Teacher input
You may want to demonstrate to the pupils on your computer how to how to use the website to dress a character.
Extension: Design a dinosaur train cart
Pupils can use the same skills to design a dinosaur train cart. Drag the objects onto the train cart and use the pink undo button if you make a mistake.
Activity 3 – Design a treehouse
Pupils can use the Arthur’s Treehouse Builder website to design a treehouse based on the word in the corner. The objects can be dragged into the treehouse from the right hand side and deleted using the x.
Teacher input
You may want to watch the video tutorial in this activity (also included in the pupil activity pack) to help understand the tools.
Activity 4: Colouring book
Use the colour pallette to colour in the pictures.
Teacher Input
Watch the video (also included in the pupil pack) and discuss how we can use the best colours for different part of pictures (e.g blue for sky, yellow for sun, black for tyres etc.)
Activity 5: The Fill Bucket
Use the fill bucket tool to colour the pictures.
Teacher Input
This activity is similar to the activity above but this time the children have to choose the fill bucket from the tools.
Optional Activities (Requires iPad)
Use digital technology to transform physical pictures
Apps such as Quiver Vision allow pupils to use augmented reality to turn their colouring on paper into animated 3D moving pictures. On the website there are a range of colouring in packs (many free ones), which can be printed off for the pupils to colour in. Using the app on either an iPad or Android tablet (or even a phone), point the camera within the app at the colouring sheet to bring it to life. The video below shows an example of this working.
Discuss with the children how technology can help us improve our work and the things we create and this is a good example.
Design and decorate 3D Nets (Requires an iPad)
Foldify app allows pupils to choose a 3D net then add their own drawings or images to each of the faces. The finished designs can then be saved and printed to be made. Younger children may need help sticking the nets together.
Below is a video tutorial.