Year 3 Digital Art Pupil Activity Pack (Teacher notes)
Pupil Activity Code: DYT3 – What is it?
Progression of skills in this pack
Use various lines and fill tools plus copy/paste and rotation to create pattern effects. (Project 1)
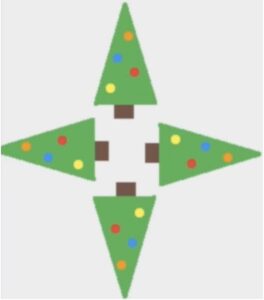
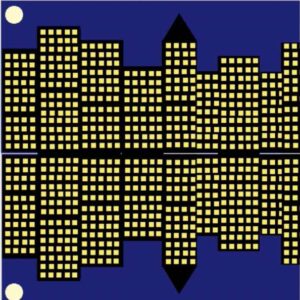
Use shapes, fill, copy/paste, zoom and flip to create reflective symmetry effects. (Project 2)
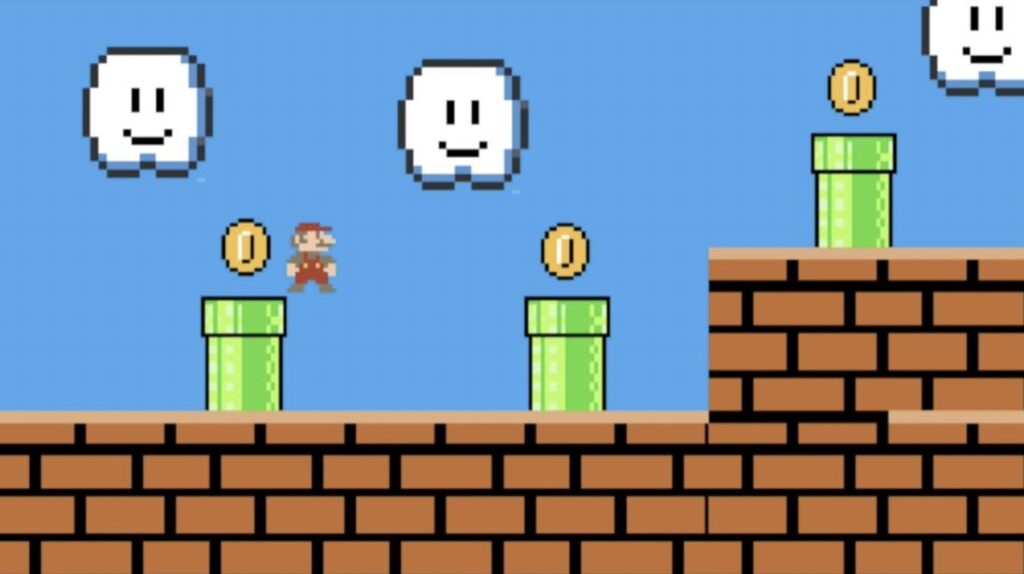
Use stamps, copy/paste, layers and multiple frames to create animated GIF computer game graphics. (Project 3)
 National Curriculum Content
Select, use and combine a variety of software (including internet services) on a range of digital devices to design and create a range of programs, systems and content that accomplish given goals.
 4-6 hours
Prior Learning
Pupils should have completed the Year 2 Digital Art Activities before trying this pack.
 What do teachers and pupils need?
Access to the free PixilArt website, which works on all devices but is also a free mobile app. Important: The PixilArt website includes a tutorials section (in the menu) – we would recommend not allowing pupils on there because it includes tutorials uploaded by users and can not always be appropriate. We would strongly suggest pupils follow the tutorials in the activities below only. PixilArt editor also includes pop-up adverts at the bottom of the screen every once in a while. The adverts are not inappropriate but should be automatically blocked by your school’s firewall. Pupils can select the x to close the adverts. If you do not wish to use PixilArt then we have also created video tutorials for Project 1 and 2 using the free Paintz website.
Introduction and Teacher Input
Below are 3 projects for building skills in creating digital artwork, using a free online editor. Each project has videos to help pupils work at their own pace using the pupil activity pack but you may want to watch the videos together for each skill. There is also an introduction video below to help pupils understand why we create art on a computer and introduce the digital tools.
 Differentiation
If pupils have not already done so, they could try the activities from the Year 2 Digital Art Activity Pack which introduces the PixilArt website covered in this pack. Higher ability pupils should be encouraged, once they have demonstrated the skills, to extend their projects with the extension suggestions below each pupil activity below. There is also a PDF help sheet for PixilArt here.
 Assessment
Pupils can save their project as a JPEG file, PNG or BitMap image and there is a screenshot at the end of the first project below demonstrating this. The third video of project 3 demonstrates how to save a project as GIF because it is an animation. If pupils want to continue their art work the next lesson then they will need to save as .PIXIL files (File and Save as .PIXIL) then open that file the next lesson (File and Open .PIXIL).